www mywifiext net setup -mywifiext net login
Solve setup or troubleshooting issues with your Net gear WiFi extender using Mywifibuddy.online—click the links below for immediate assistance.
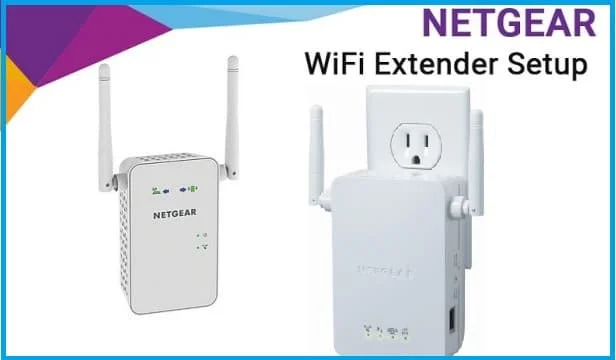
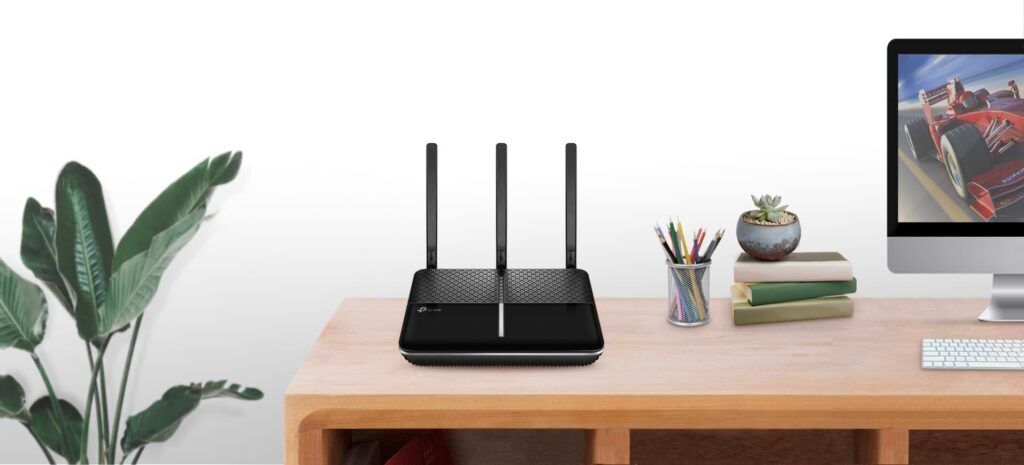
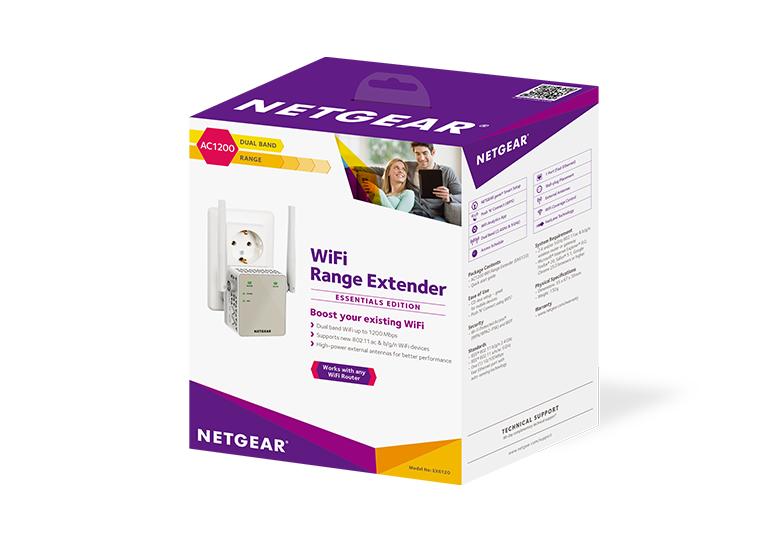
Net gear Extender Setup Guide
Tired of patchy WiFi signals or no connection in some rooms? A Net gear WiFi range extender can fill in the gap between your router and those remote areas of your house or business. This step-by-step guide provides a few easy-peasy methods to install your device and optimize your wireless experience.
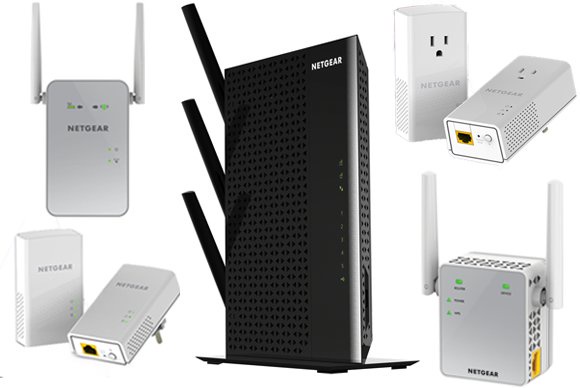
Why Net gear Extenders
Net gear extenders are designed to provide improved performance and longer signal range. Here’s what you can look forward to:
- Dual-frequency bands for keeping strong, fast connections on both 2.4GHz and 5GHz.
- Signal strength tailored for passing through thick walls or interference.
- Secure browsing with advanced encryption options like AES.
- Universal compatibility with most routers and devices.
- Support for multiple devices without compromising speed or quality.
General Setup Steps Using Mywifibuddy.online
Method 1: Connect Using Mywifiext.net
Method 2: Setup via WPS Button
Method 3: Wireless Configuration Without Ethernet
Method 4: Activating Extender Mode
Method 5: Log in through IP Address
Www Mywifiext Local
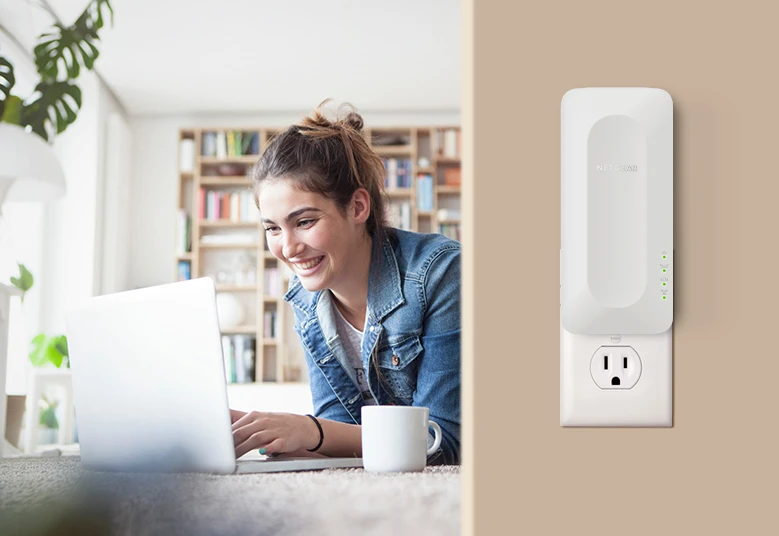
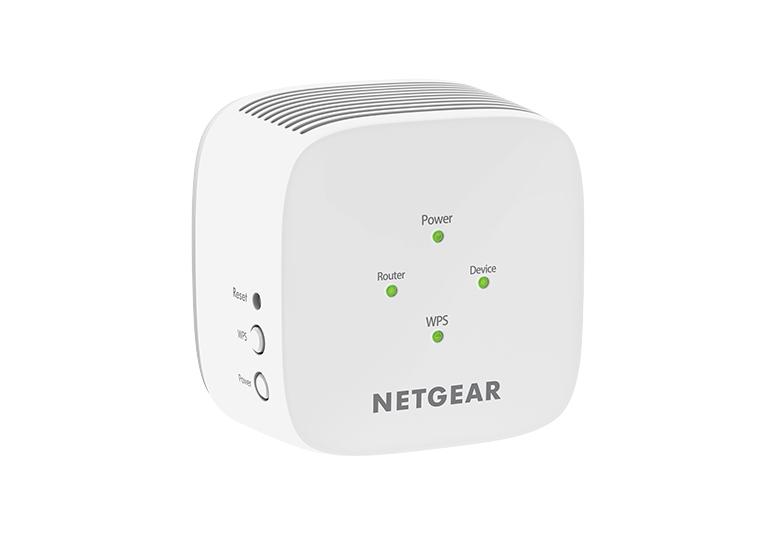
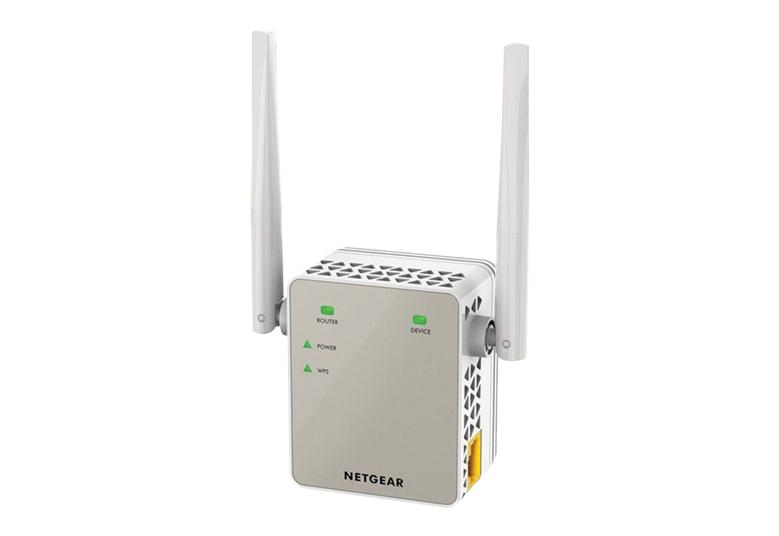
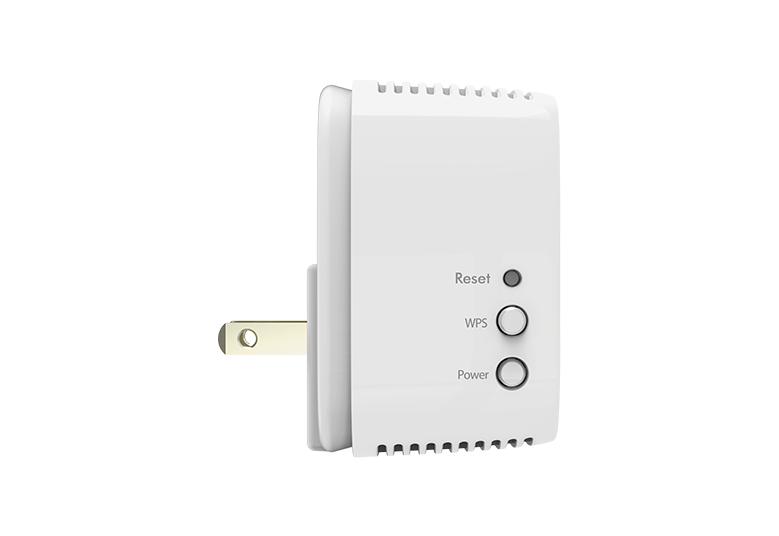
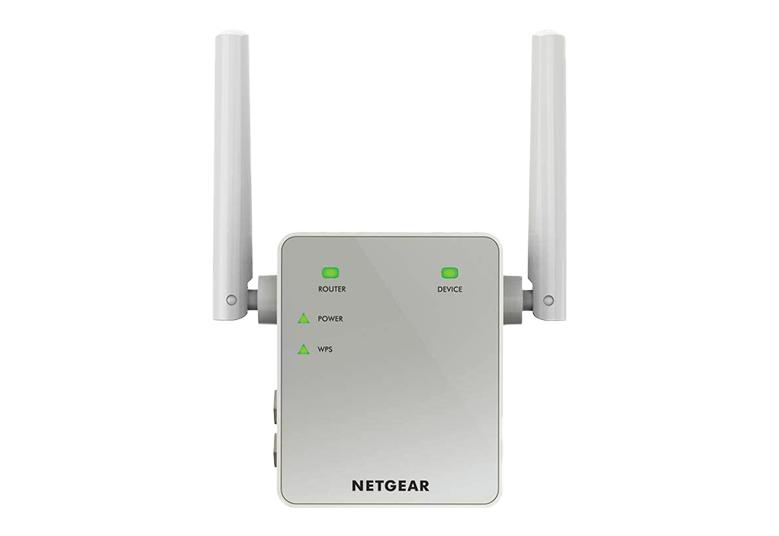
To reset or reconnect your extender:
- Plug in the device and wait until the power LED is steady.
- Press the reset button for about 10 to 15 seconds until the LED blinks.
- Reconnect your phone or laptop to the default network “Net gear_Ext.”
- Go back to mywifiext.net and follow the on-screen directions to set up the extender from scratch.
If you still have problems, try restarting your main router or calling technical support.
Troubleshooting Tips: Common Problems and Fixes
- Can’t reach the setup page? Try clearing the browser cache or directly accessing IP address.
- WPS setup fails? Check if your router supports and has WPS enabled.
- Fading weak signals? Place the extender nearer to the router while setting it up.
- Login fails? Restart the extender and try logging in using the default login credentials.
Still having issues? Call Net gear’s customer support for further assistance.
Www Mywifiext
- Place in an area with no thick walls or metal obstructions.
- Avoid it from being close to electronic devices such as cordless phones or microwaves.
- Position it in a central location between your router and the area with weak coverage.
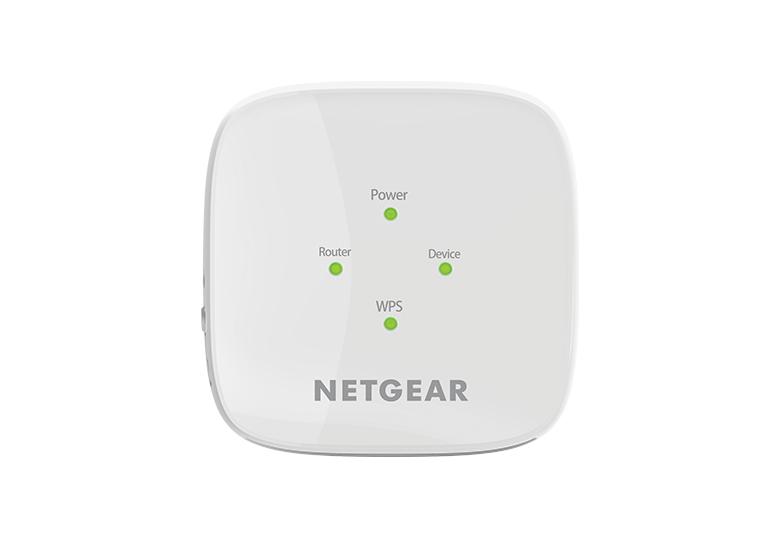
- Use the LED lights to confirm a good connection prior to final installation.
Wrapping Up
Installing a Net gear WiFi extender doesn’t have to be cumbersome. Using WPS, the web portal, or the IP-based setup are all great options that culminate in improved connectivity and fewer dead zones. Choose the method that suits you best and experience smoother, wider internet coverage across your area.
Frequently Asked Questions (FAQs)
Q1: What are the ways I can install the Net gear extender?
You may use browser-based setup, WPS connection, Extender Mode, or IP login at IP address.
Q2: How does the WPS method work?
Just press the WPS button on the extender and the router—your devices will automatically connect within two minutes.
Q3: Do I need an Ethernet cable for setup?
No. The device has wireless setup support, so Ethernet is unnecessary.
Q4: What is the purpose of Extender Mode?
It is used to extend the range of your current router to areas with poor or no signal.
Q5: How do I reset my extender to factory settings?
Press and hold down the reset button for 10–15 seconds until the LED lights, then reconnect on the default network and reconfigure at mywifiext.net.
Mywifibuddy.online
Net gear’s MyWiFiExt solution is a life-saver in homes and offices where WiFi dead zones are an
everyday frustration. From eliminating lag during Zoom calls to ensuring that your smart TV
buffers less, a reliable WiFi extender brings you closer to uninterrupted connectivity.
With this blog, we hope you now understand how to configure your extender via
www.mywifiext.net , how to tackle issues like mywifiext not working, and how to optimize your
settings for better performance.
Mywifiext Com
- Optimal Placement:
- Place the extender in an open space, away from obstructions.
- Avoid Interference:
- Keep the extender away from electronic devices that may cause interference.
- Channel Selection:
- Use the web interface to select the optimal WiFi channel, reducing interference from neighboring networks.
- Regular Reboots:
- Periodically reboot your extender and router to maintain a stable connection.